printable version printable version
Removal and installation of the instrument cluster
Withdrawal
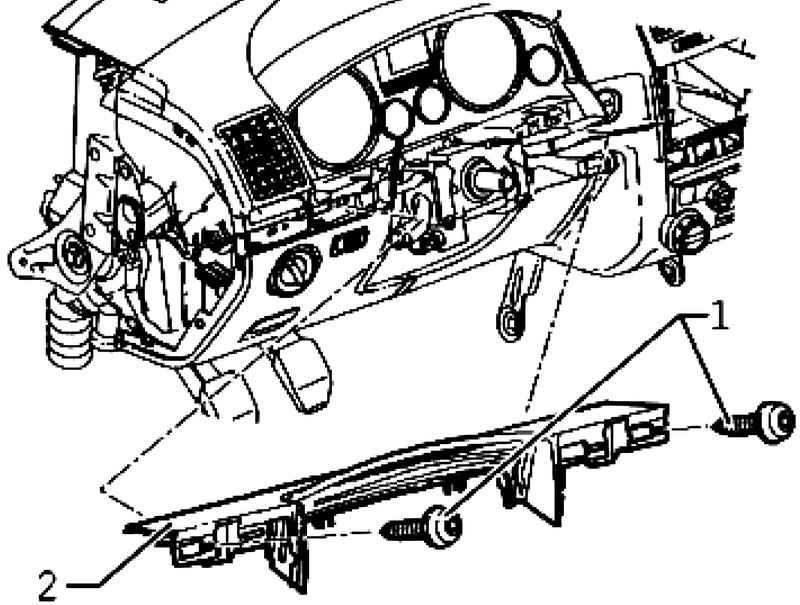
Pry and remove the panels 1 and 2 with a wedge T10039 / 1 of clamps (Fig. 7.69).
NOTE To remove the steering wheel is not required. However, for clarity, the following figures the wheel not shown. Steering column with electrical or mechanical adjustment set to the lowest position and pull it out until it stops. Turn the ignition and all electrical consumers and remove ignition key.
|
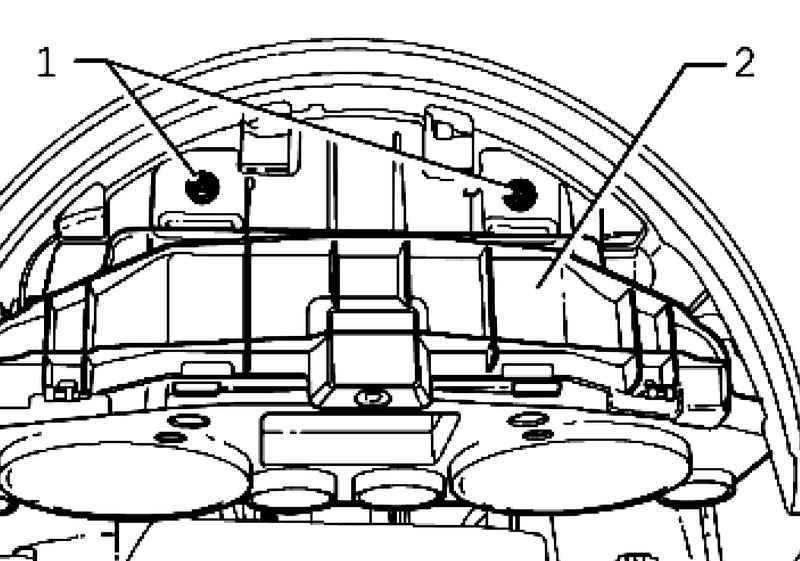
Remove the screws 1 the top wall panel of the steering column 2 and remove the cover (Fig. 7.70). Remove the hood of the instrument cluster.
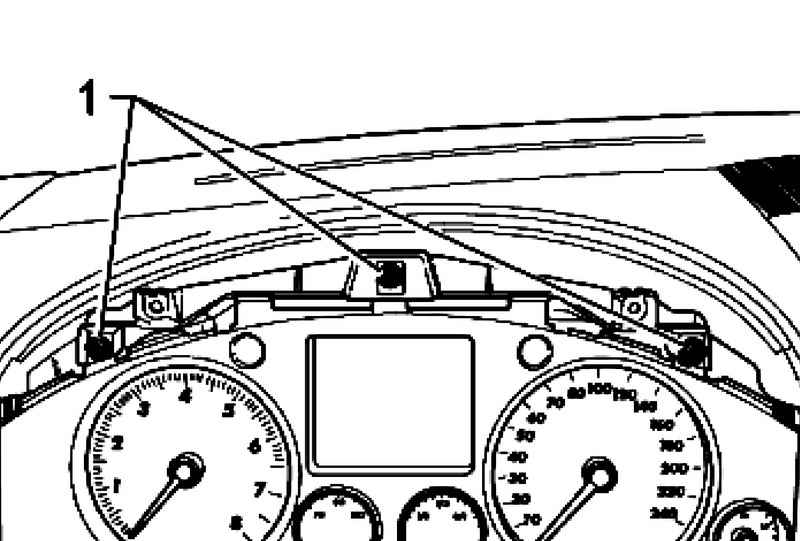
1 Remove the screws of the hood of the instrument cluster 2 (Fig. 7.71).
Remove the holder of the instrument cluster hood, pulling it up.
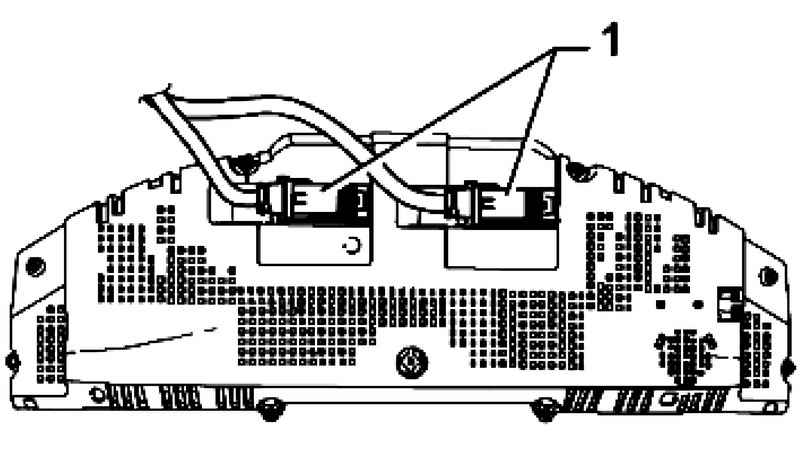
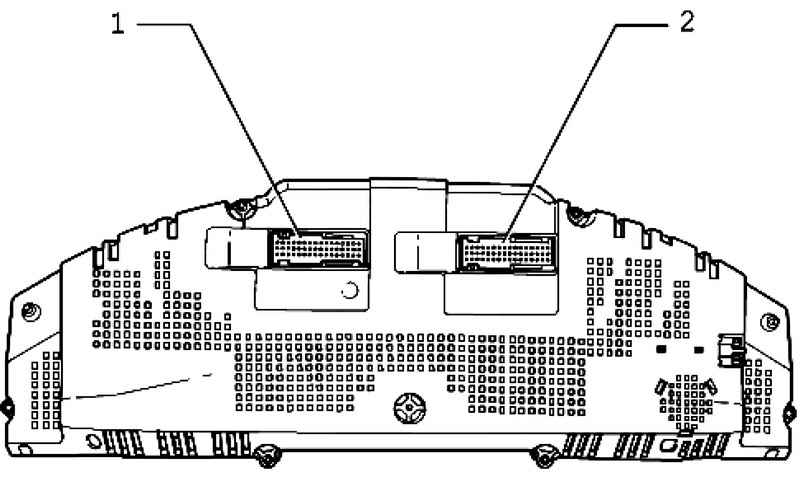
Remove the instrument cluster and unplug connectors 1 on the back of the instrument cluster (Fig. 7.73).
Setting Install in reverse order, with the following should be considered. Install the instrument cluster into the slot on the front panel, and connect the connectors. Attach the hood of the instrument cluster. After installation, check the operation of the functions of the instrument cluster.
Description of the rear side of the instrument cluster
| Fig. 7.74. The back side of the instrument cluster: 1 - socket, 32-pin; 2 - socket, 32-pin
|
NOTE Do not disassemble the instrument cluster. If required, the instrument cluster is replaced in gathering. |
|