printable version printable version
Disconnecting and connecting the battery, vehicles with one battery
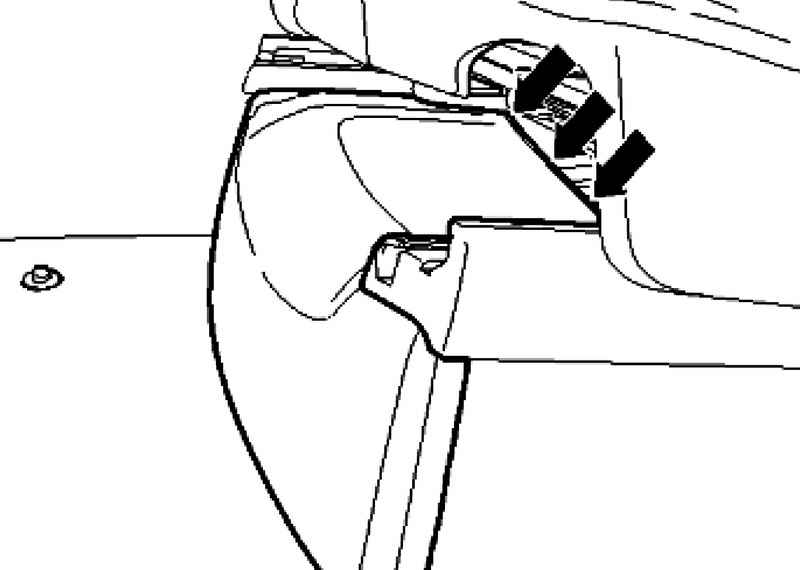
Disconnecting the battery Gently push the facing panel down while ago.
NOTE To disconnect the battery must be deactivated anti-theft alarm system. Unscrewing the negative terminals of the battery (the cessation of current in the circuit) - Secure working on electrical equipment. Unscrew the positive terminal is only necessary for removing the battery. Turn the ignition and all electrical consumers and remove ignition key. Removing the paneling under the driver's seat |
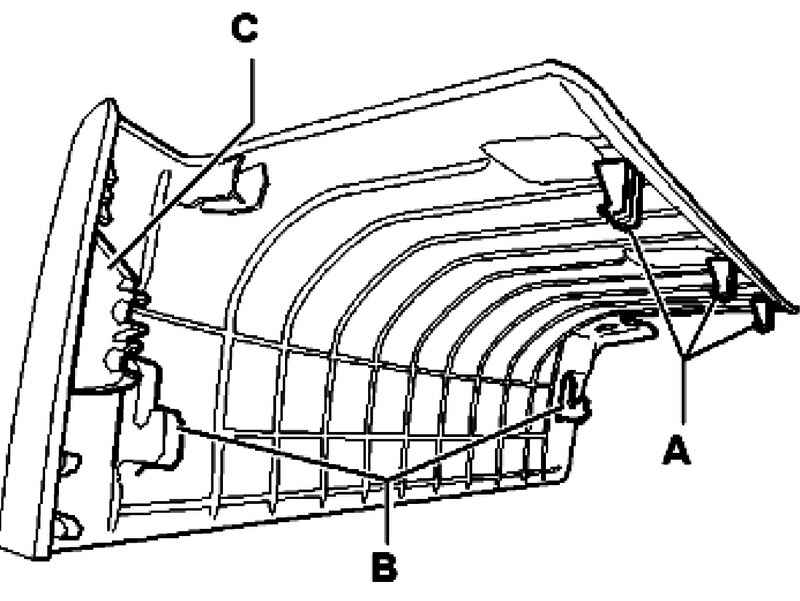
NOTE Catches A cling transverse stretching under the seat (Fig. 7.4). |
Hold the panel in this position and in the locking tabs A. Pull it up to release. Catches B fall into the grooves in the transverse stretching in front of the seat. Unlock they can also be by pushing down and pulling over. Catches C cling to the side facing panel seat, pulling on themselves, they can unlock. Set the seat to the back, the top position.
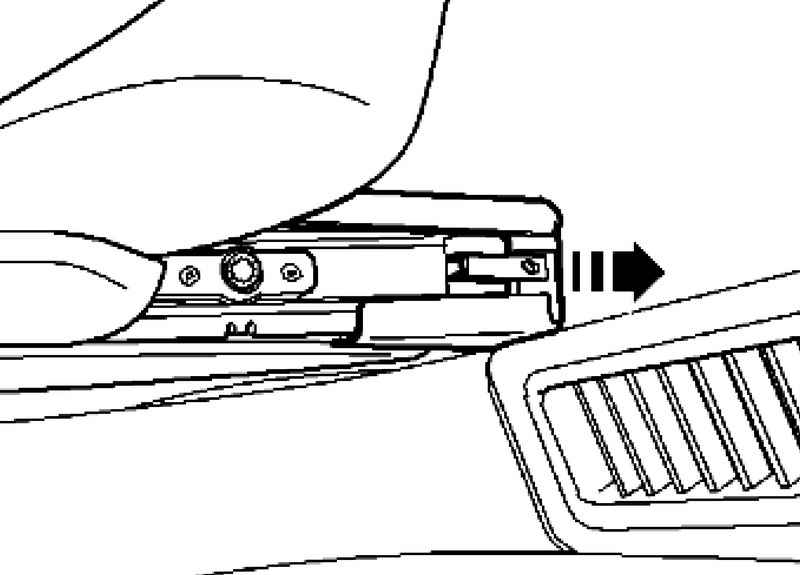
Unlock clips by pressing down and back at the same time. In this position, lift the facing panel in the clamps (Fig. 7.5). Push the facing panel down and simultaneously pull it out.
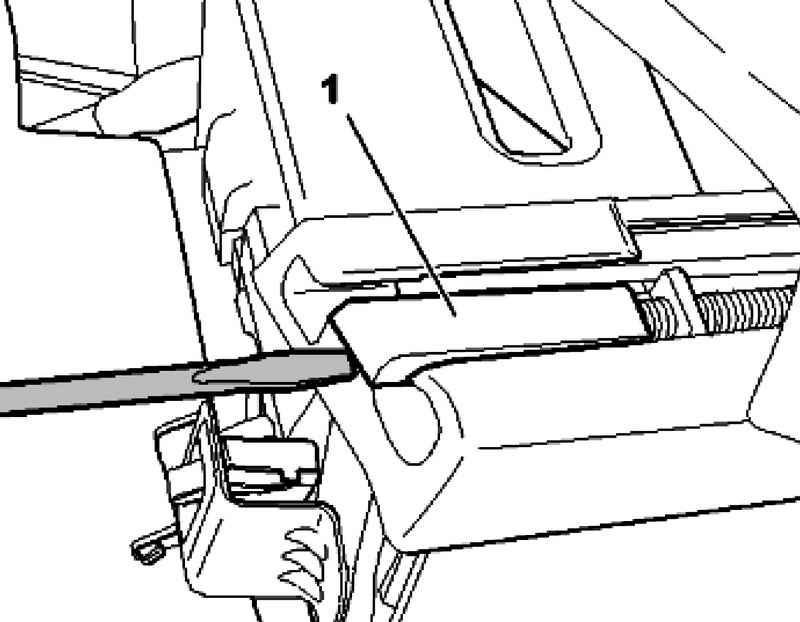
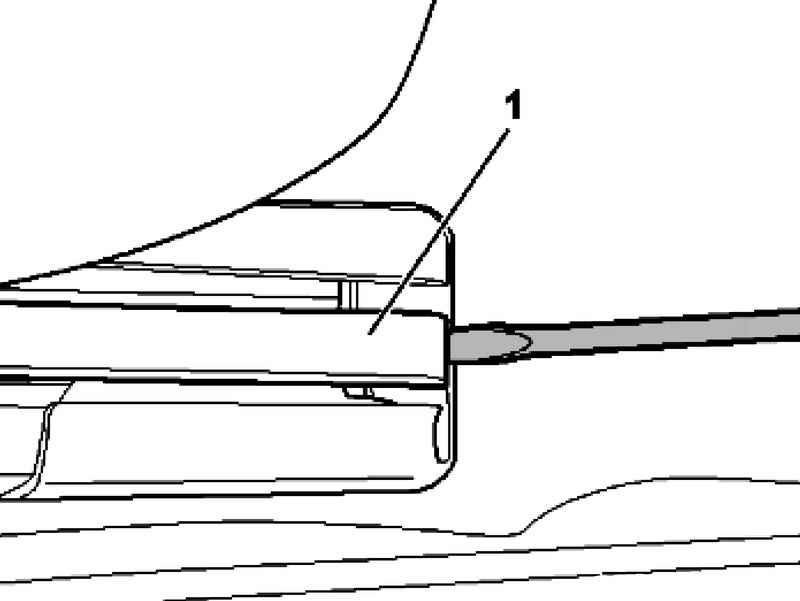
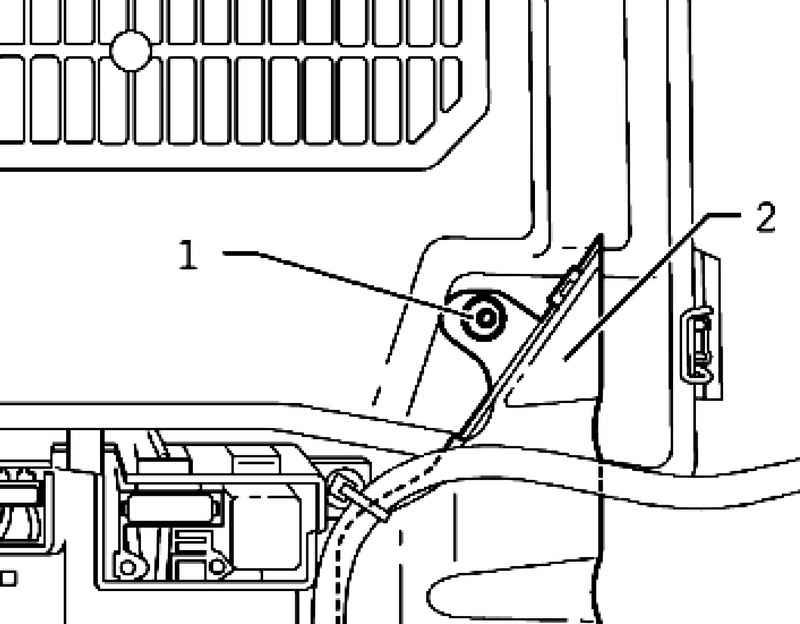
Gently lift the cover 1 using a screwdriver from the front panel facing the axis of seat adjustment (Fig. 7.6).
Remove the front panel axis seat adjustment with seat slide (Fig. 7.7). Set the seat to the front, the top position.
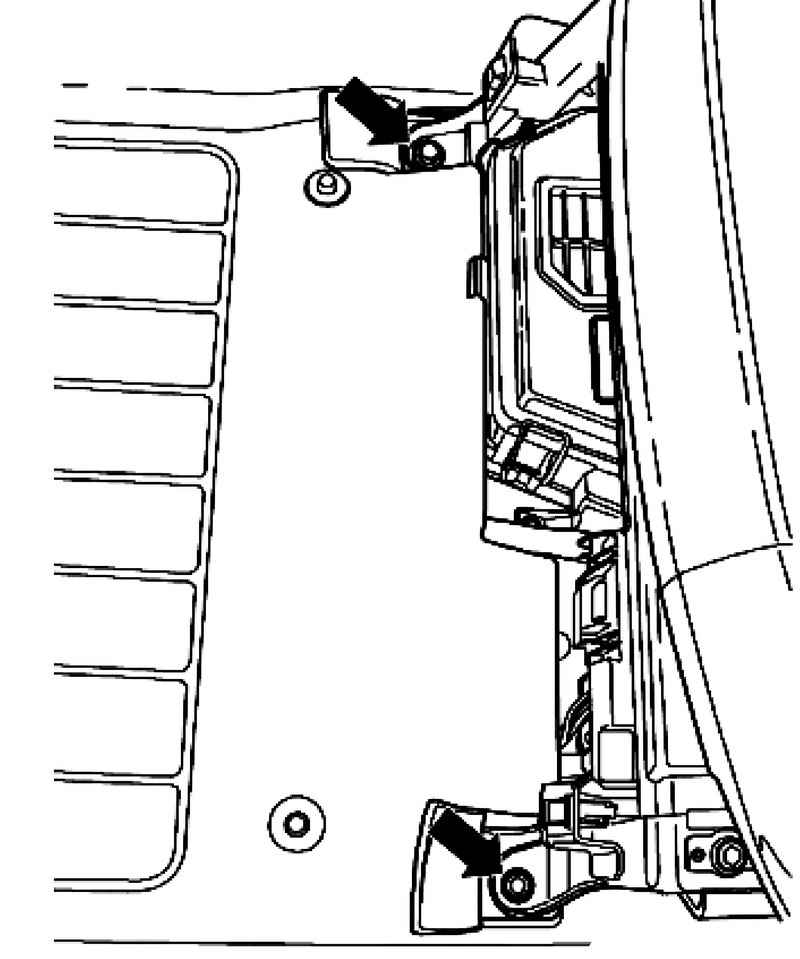
NOTE Removing and installing the rear cladding panels axes seat adjustment is carried out equally on both sides. |
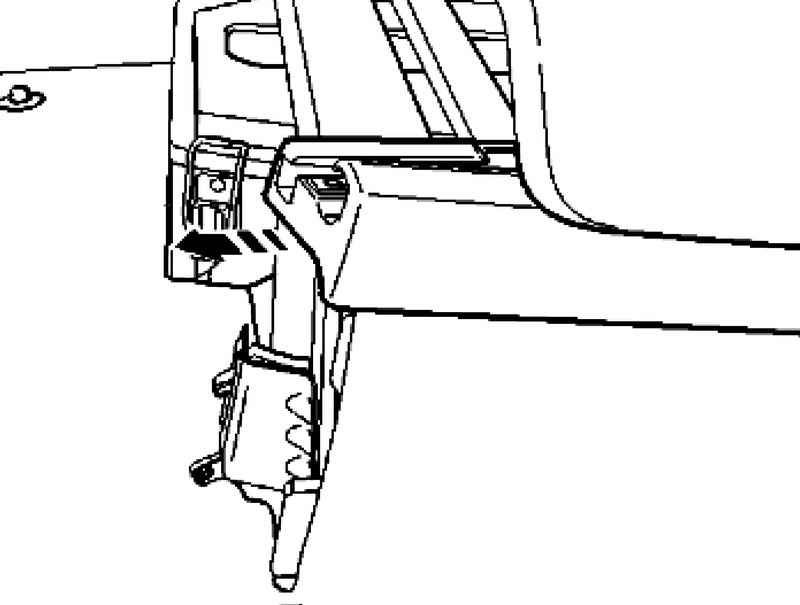
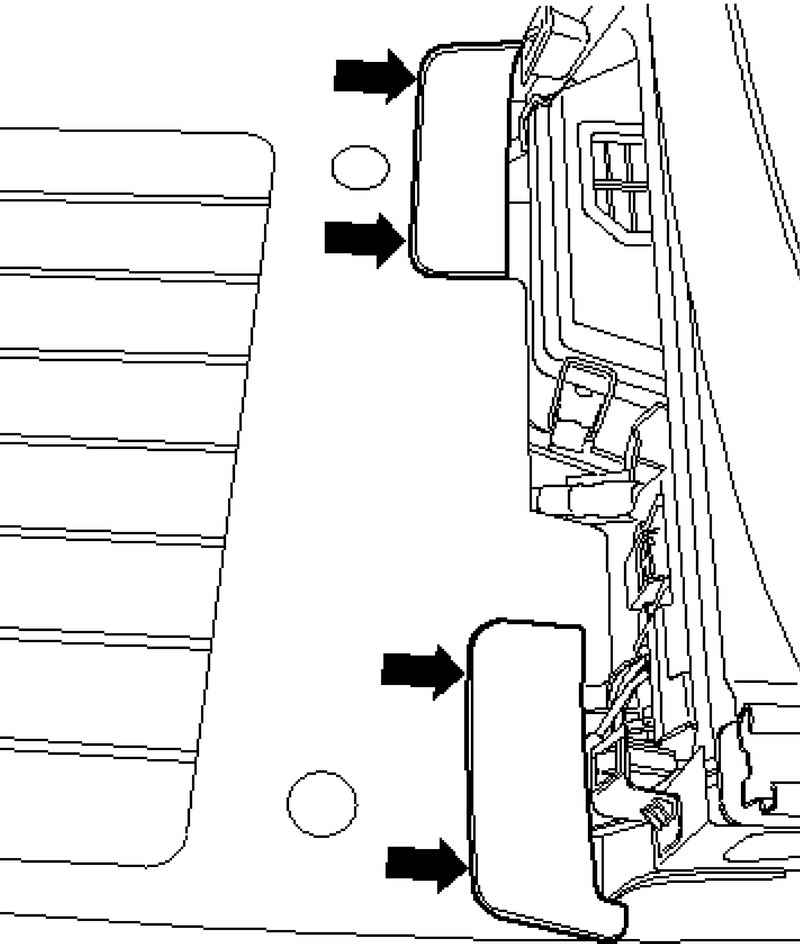
Gently lift the cover 1 using a screwdriver from the rear wall panel axis seat adjustment (Fig. 7.8).
Remove the back cover of the axis adjustment of the seat with the seat slide (Fig. 7.9). Release clamps facing the side of the console seat with a screwdriver and remove the panel by pulling it up.
Fold the base of the seat with the seat back itself.
Unlock the battery drawer latches arrow and remove the cover (Fig. 7.13). Remove the negative terminal and the positive terminal of the battery terminals.
Connecting battery Put the positive terminal to the positive terminal of the battery.
ATTENTION Wear pole terminals hand without effort, to prevent damage to the housing of the battery. Do not lubricate the battery terminals. |
Tighten the fixing screw the positive terminal to the specified torque Only after the positive terminal has been fixed, it is possible to put on the negative terminal to the appropriate battery cable. Tighten the screws negative terminal to the specified torque. Replace the base of the seat mounting bolts and tighten them to the specified torque
|