printable version printable version
Removing and installing brake pads
Withdrawal Mark brake pads when they are re-used. They must be set back in its place, otherwise there is the uneven distribution of braking forces between the wheels. Remove the wheels.
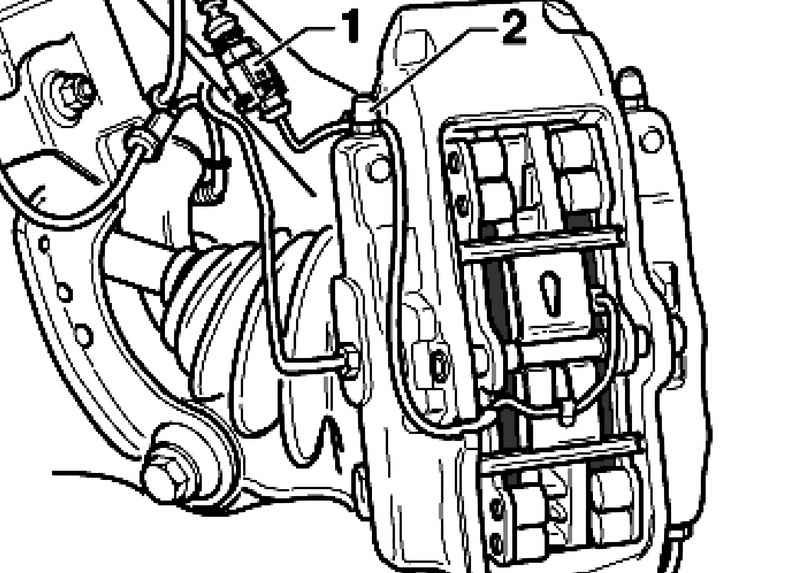
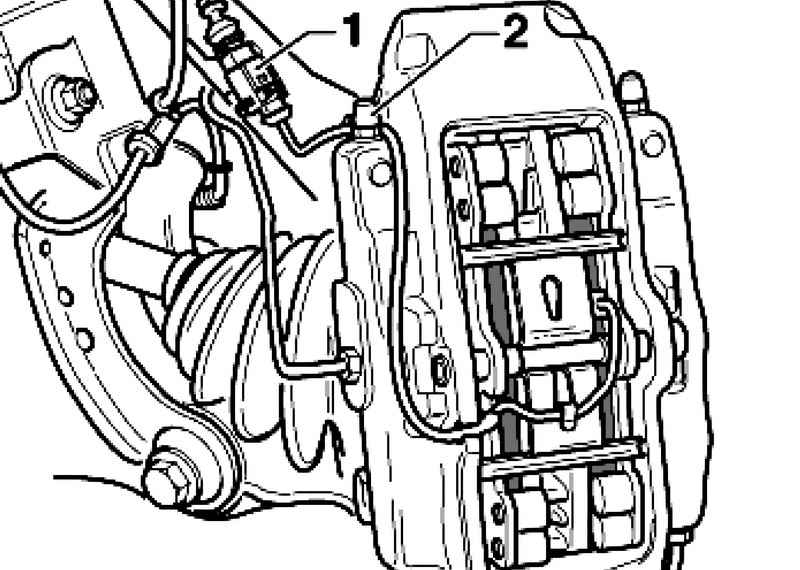
Disconnect the connector 1 Brake pad wear indicator (Fig. 6.36). 2 Remove the cap and remove the cable brake pad wear indicator.
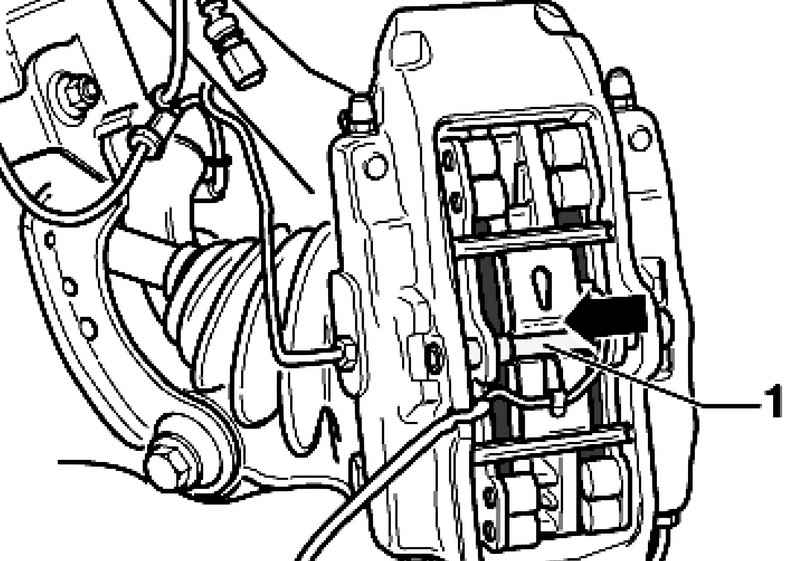
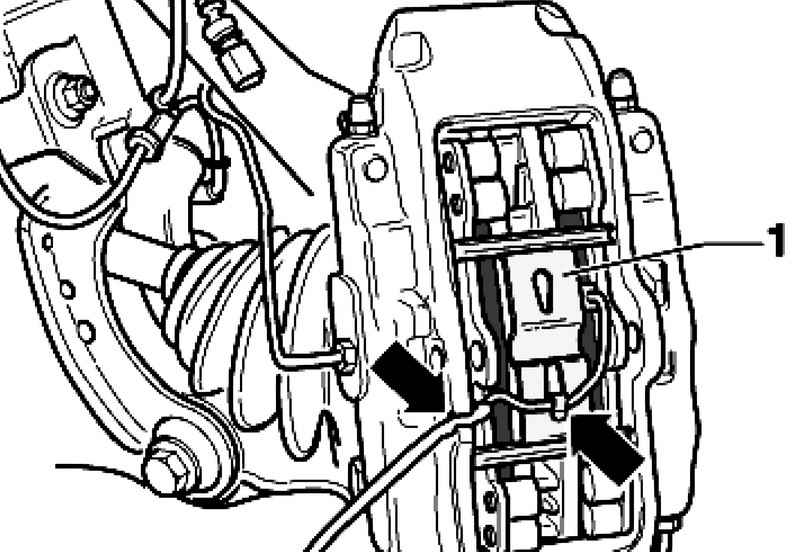
Press down retaining spring at the same time remove a banner 1 (Fig. 6.38).
Remove the cable brake pad wear indicator of the brake caliper housing and retaining spring 1 (Fig. 6.39).
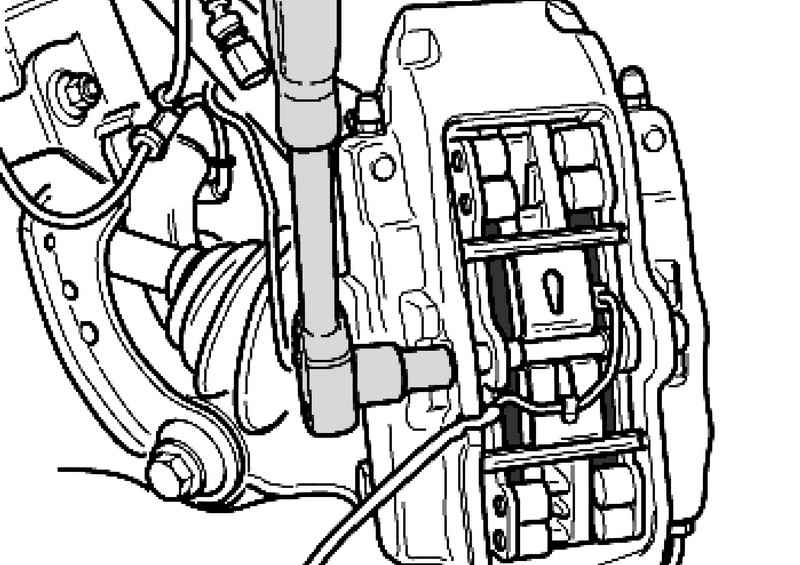
Before squeezing the brake pads need to pump out the brake fluid reservoir. If the brake fluid is then filled as the brake pads wear, it will avoid its leakage and damage caused by them. Press the brake pads from the brake disc and remove the brake caliper. If necessary, replace the brake pads. Carefully remove the contact sensor with cable brake pad wear indicator of brake pads and check for damage. Intact contact sensor and cables can be used in the future. Clean the caliper. To clean the brake caliper using only alcohol.
Setting Before dent the piston in the cylinder using a special device, it is necessary to pump the brake fluid reservoir. If the brake fluid is then filled as the brake pads wear, it will avoid its leakage and damage caused by them. Press the pistons. Install the contact sensor cable Brake pad wear indicator cautiously in new brake pads. Install the brake shoes in the brake caliper. Install the cable brake pad wear indicator under the lip holding spring into the housing of the brake caliper. Click on the retaining spring and push down until it stops stretching 1 (Fig. 6.39). Make sure that the side end surfaces of the extensions were correct in the case of a brake support, so they could not crank. Connect the plugs 1 Brake pad wear indicator in the holder on the housing of the wheel bearing (Fig. 6.36). Secure the cable brake pad wear indicator with a cap on the bleeder plug 2. Install the wheels.
NOTE After each replacement brake pad several times strongly press on the brake pedal. This is necessary to ensure that the brake pads have taken their position. After replacing the pads, check the brake fluid level. |
Torque Hex bolt to stretch: 30 Nm.
|