printable version printable version
Damages of tires because of errors at mounting (assembly damages)
Bead core exploded pumped tires
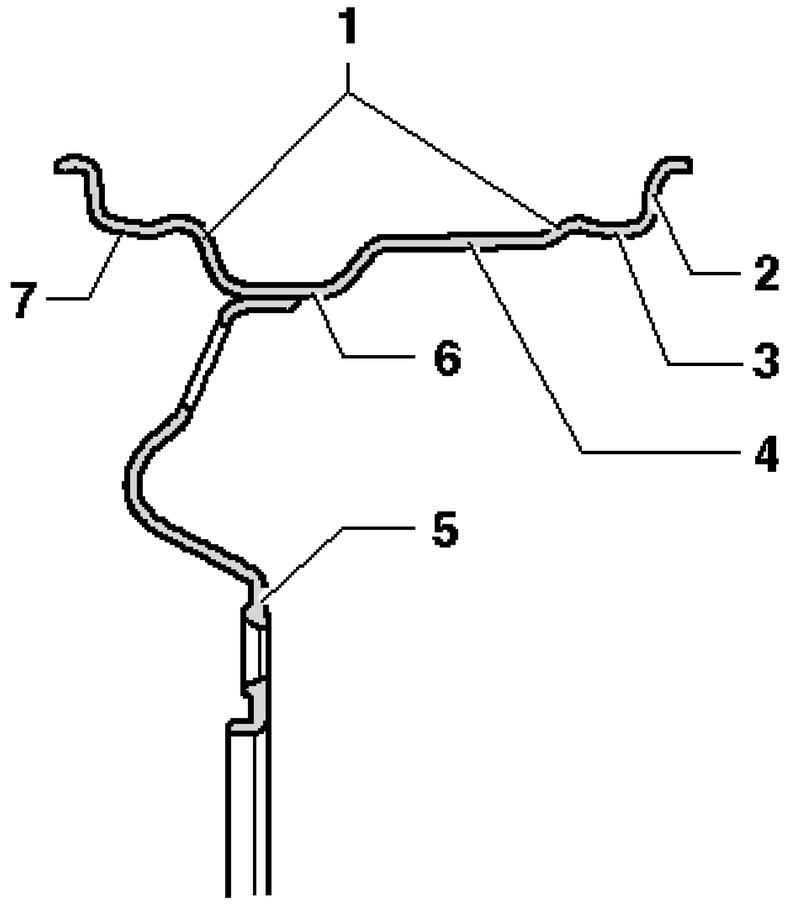
| Fig. 4.26. Arrangement tires on the drive: 1 - Hamp (double Hamp of H 2); 2 - rim flange; 3 - the inner shoulder of the rim (eg. Conical Regiment); 4 - rim; 5 - drive; 6 - cavity; 7 - outer rim shoulder (eg. Conical Regiment)
|
Modern radial tires for passenger cars mounted exclusively on a safe drive. They are on the shoulders of the rim 1 at the elevation of the entire circumference (Fig. 4.26). Hamp protects the tire when driving with low air pressure in it from slipping from the shoulder of the rim. When pumping the tires it may happen that the tire bead is not completely moves through the outer rim Hamp. In this case there is a risk of excessive stretching of the bead core when pressure is too high, causing it to burst steel filaments partially or completely. Break the bead core is invisible from the outside.
ATTENTION Tires damaged bead core loosely sitting on the rim of the disc. These tires are extremely unsafe during operation. In addition, there is a danger that the torn bead core in the movement would break completely, and the tire suddenly explode. When you break the bead core pumped the tire carcass is also destroyed.
|
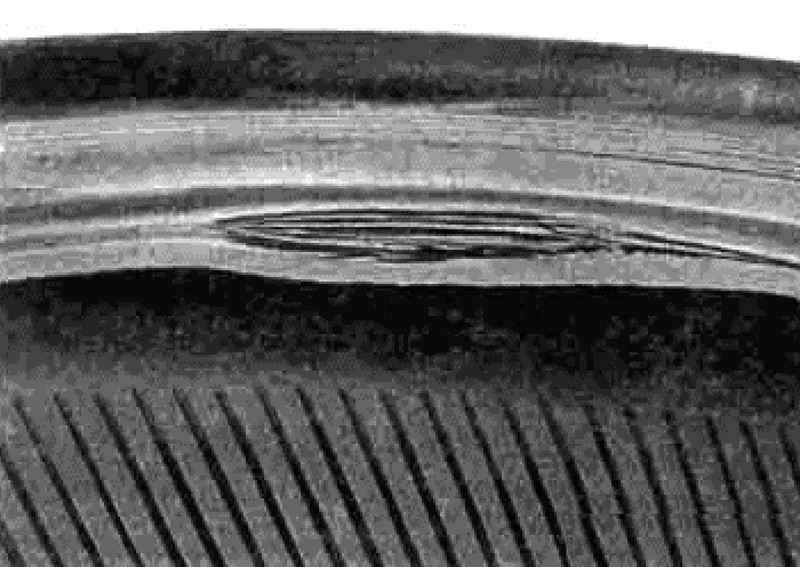
The tire bead core with a torn and shattered frame
Figure 4.27 shows the bus with a torn and destroyed the core framework as a result of excessive stretching during installation. Damage to the side of a mistaken or wrong tire on the tire changer The following errors at mounting may cause serious damage to the tires: - If seaming the upper side to the opposite tire changer tire bead is not completely in the cavity; - If the wrong was adjusted mounting head; - If the edge of the mounting roller rolls on the roller-board; - If worn or sharp guide rollers.
Tyres with a cut side
In such cases, the board, the high voltage can be incised, cut and / or clamped to the wire core (Fig. 4.28). Often, in the area of damage traces of the beginning and end of contact with the guide roller.
NOTE In principle, both the bead and the rim shoulders must be lubricated tire fitting paste. If damage is unnoticed during installation, there is a risk of further destruction of the tire in its operation. Never install tire without tire fitting paste. Do not pump the explosive pumped more than 3 bar. Do not inflate the tires more than 4 bars. At the end of the tire deflate the tire pressure to the specified value. |
|